The immense success of semi-permanent varnish is mainly based on its longevity and good hold. This type of varnish can remain intact for up to 3 weeks, if you take care of your hands and nails. However, this varnish is particularly difficult to remove. We Maryton will give a simple way to remove semi-permanent nail polish in a few steps.
Step 1: prepare your nails before removing the semi-permanent varnish
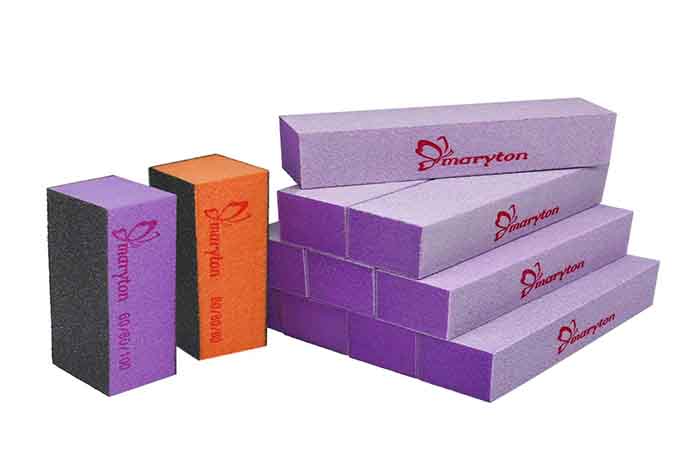
Before removing your semi-permanent varnish, it is essential to prepare your nails well. Arm yourself with a buffing block and start polishing the top layer of semi-permanent varnish.
Step 2: remove the semi-permanent nail polish with the twist method
Start by applying the remover to your cotton pieces. After placing these solvent-soaked cotton pads on each nail, use your aluminum strips to make twists around your nails. Make sure that the pieces of cotton are in contact with the semi-permanent varnish, and respect an exposure time of between 10 and 15 minutes.
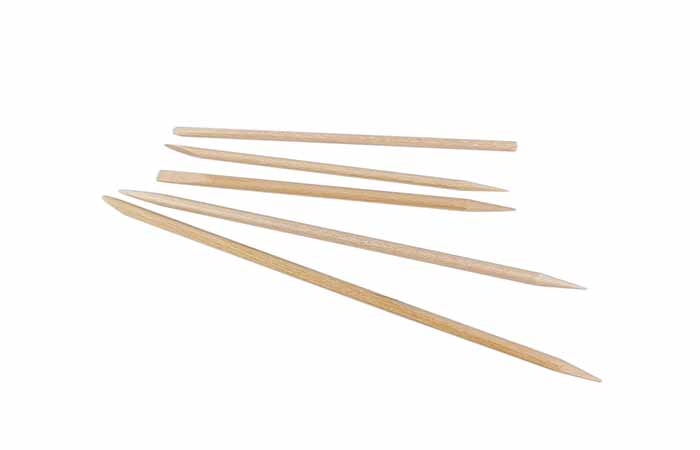
Once the exposure time has elapsed, use the cuticle pusher to remove the semi-permanent varnish, by gently scraping the surface of the nail.
Step 3: tweak everything to find healthy nails!
You have managed to dissolve a large part of your semi-permanent varnish. To get rid of the last residues of semi-permanent varnish, you can use a degreasing and cleaning cleaner. Don’t hesitate to reuse your polishing block, in order to harmonize the surface of your nails. Finally, remember to treat your hands and nails in depth, with a gentle exfoliation and a moisturizing hand cream.
OK! Now that you have known how to remove semi-permanent varnish, bring your manicure supplies and act now! It doesn’t matter if you don’t have nail products. We have everything all you need.
Read also: 6 tips to stop biting your nails


