The advent of semi-permanent varnish allows the perfect nail art to stay in your hands for 3 weeks. But, do you know how to remove your semi-permanent varnish? In this blog, your expert nail supplier Maryton will tell you how to remove your semi-permanent varnish at home!
The necessary equipment:
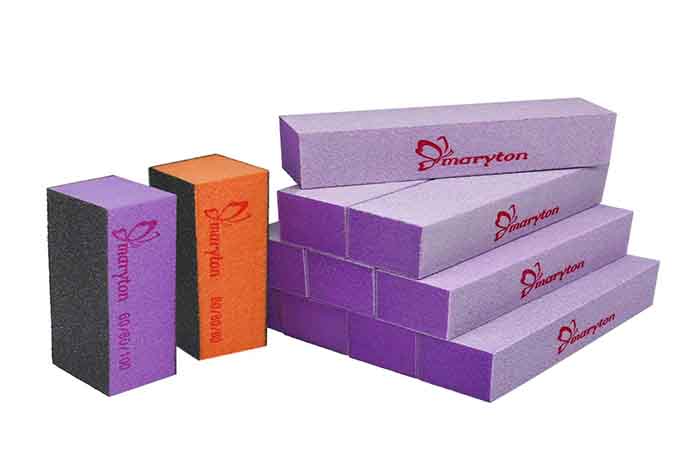
- 1 white or lime block
- 1 polisher
- 1 scraper
- Cottons
- Solvent with acetone
- Removal pliers or possibly aluminum foil
- 1 hand cream
10PCS $9.99
Here are the steps to remove semi-permanent varnish:
Step 1: Prepare 10 squares of Cottons and the special removal clips that will be placed at the fingertips.
Step 2: Remove the shiny part of your nail polish.
Step 3: Soak the solvent on the cotton and place it on your nail then cover the tip of your finger covered with aluminum foil.
Step 4: Leave on for 15 minutes minimum.
100 PCS $16.90
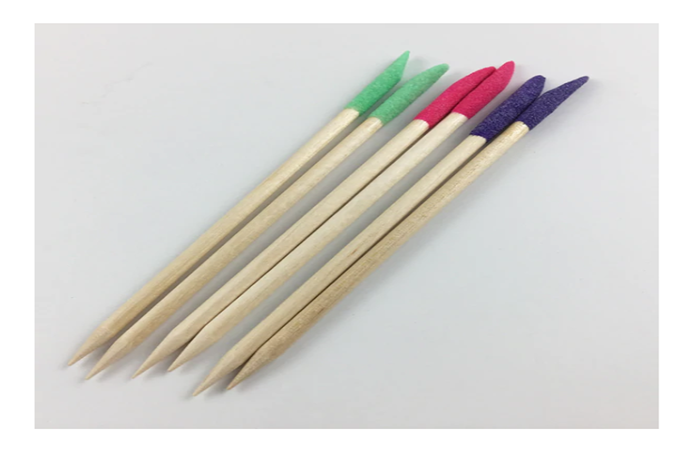
Step 5: Remove the papillotes and remove the residue gently using the metal scraper or with a wooden stick.
Step 6: Use a polisher or white block and remove the last residues from your nails
Step 7: Moisturize with a moisturizer your hands and nails included, according to your mastery and your desire you can apply a base that will strengthen your nails.
We hope you enjoy this article! In addition to these, I advise you to invest in a complete manicure supply! To help you in your choice, I invite you to visit our website.
Read also: What is the difference between a semi-permanent and a gel?


6 comments