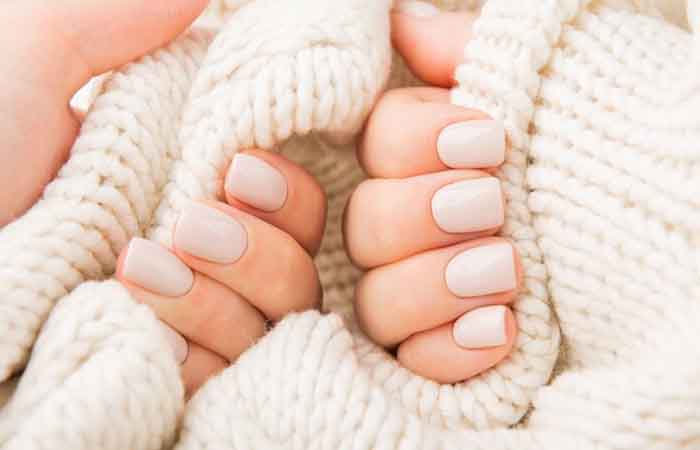
Applying acrylic gel is similar to certain nail extension or manicure techniques. It’s more similar to applying semi-permanent nail polish. Several steps are required to successfully apply the gel. You’ll also need the necessary equipment.
Acrygel Application Equipment
Whether you’re applying it at a salon or at home with a manicure kit, the following materials are essential:
- A nail file to file and smooth your nails.
- A cuticle pusher to prepare the edges of the nail and the stress area.
- Nail manicure products: cleaner, primer, base coat if needed.
- An application brush.
- A tube of acrylic gel.
- Nail tips, caps, or stencils: These are small molds that allow you to achieve the desired nail shape. They are usually transparent.
The Preparation Phase
Essential for any false nail application, the preparation phase ensures the adhesion of the acrylic gel.
First, you must file your nails to remove dirt and other residue. Then, disinfect them. This is a very important step, especially if you have brittle nails or nail polish left over from your last manicure session.
Once your nails are filed, you must also push back your cuticles and remove any excess. You can also file them again to achieve the desired shape. Finish the preparation by disinfecting your fingers.
Applying the Acrylic Gel
You can apply a primer or base coat to your nails before applying the acrylic gel. This product will provide additional protection to your manicured nails, although acrylic gel is not at all harmful to natural nails. You must cure it under an LED or UV light for 30 seconds, just like gel polish.
First, choose the right popits or templates for the size and shape of your nails. Then, to apply the gel, simply place a small amount of the product in the popit. Spread it evenly over the entire surface using a brush soaked in cleaner. This will help you shape the builder gel into the desired shape. It’s important to regularly run the brush through cleaner, as the gel could stick to it.
Once the gel is spread over the popits, apply it to your natural nails. Gently press it down to adhere the gel to the nail. Then, cure under a UV lamp for 1 to 2 minutes.
The Finishing Phase
Once the UV gel has hardened, you can remove the popits. Use an electric nail file and file gently.
You can choose to apply a top coat, a finishing nail polish, or a semi-permanent nail polish, but this is optional. If you want more color or a more sophisticated look, or even want to create a nail art manicure, you can add several top coats. In any case, don’t forget to cure again for a perfect finish.
To finish your acrylic gel nails, apply cuticle oil to protect and moisturize your nails.
It’s worth noting that it’s perfectly possible to create all kinds of manicures with acrylic gel, whether for nail art or a French manicure. For a French manicure, simply apply a pink acrylic gel and white gel to the smile area. Apply a top coat to finish, and you’re done!
Read also: How to have beautiful nails naturally?


