At first glance, semi-permanent varnish has a classic look, but the difference is that they have a much longer application time. Semi-permanent varnishes are made from acrylic which allows the varnish to last much longer than a classic varnish.
Clean and file
First of all, it is necessary to thoroughly clean the hands of you in order to avoid any risk of infection. Then, dry them properly. Using a manicure stick, remove excess cuticles, apply oil to moisturize them.
500 PCS $85.00
Prepare the terrain
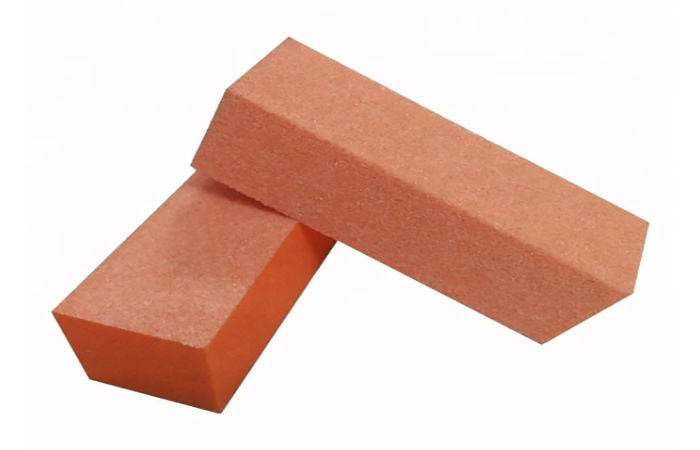
To start, the varnish must adhere well to the nail, don’t hesitate to polish it with a buffing block. Then apply a base, make sure you don’t touch the cuticles, let dry under UV lamp (120 seconds) or under LED lamp (30 seconds).
Make way for color
Once the Base coat is dry, you must apply the color of your choice. Dry the first coat of color under the lamp. After that, apply a second coat and let it dry again.
300 PCS $34.50
The topcoat
This step is undoubtedly the most important of the manicure, because it will close the work carried out until then and above all a good finish allows the varnish to have a longer duration. You are completely free to choose the one that suits you best. Allow to dry under the lamp.
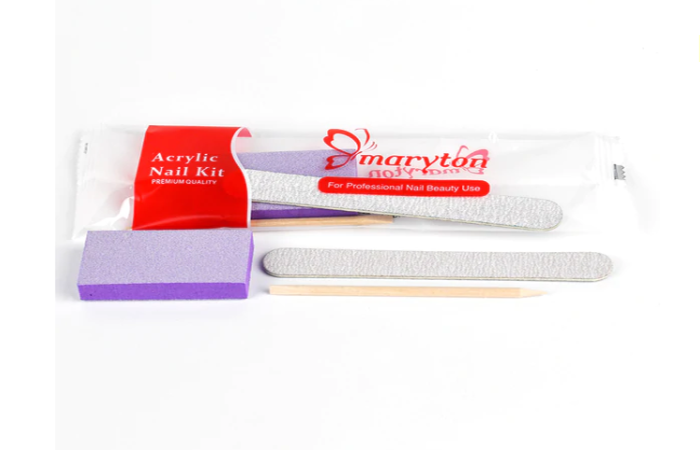
If you want to buy manicure products, you can do so through our nail supply store online, where you will also find varieties of manicure and pedicure sets.


