There are different nail techniques: resin, gel and acrylic. The acrylic nail technique is one of the most popular in the United States and Europe. Do you know how to make acrylic nails? Keep reading!
To properly shape your nails, you will also need stencils, which are actually lined paper shapes to put under your nail. Lines help you create nails of the same length easily.
The steps of acrylic nails:
- Preparing your nails for nail art.
- Apply the acrylic primer.
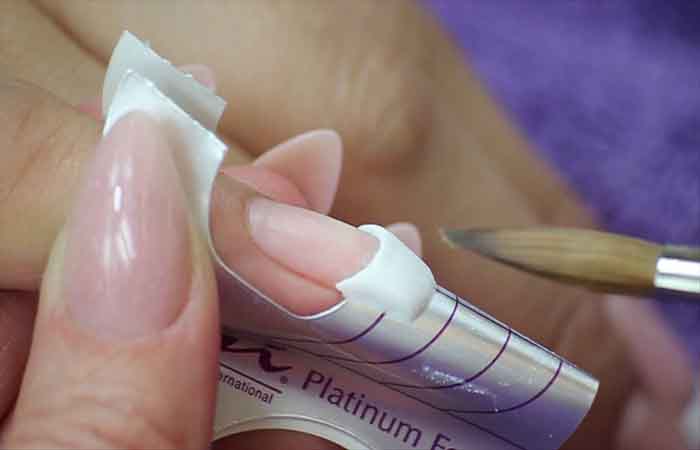
- Place the stencil under your natural nail. Bend the stencil so that it is in line with your nail and that it follows the natural curve of your nail.
- Apply primer again, without letting it dry.
- Apply a ball of acrylic to the middle of your nail and work it by stretching it on the template and giving it the desired shape.
- Apply a slightly larger ball of acrylic at the stress point of your nail.
- Apply a slightly more liquid ball near the cuticles and stretch it.
- Allow the resin to dry a little and pinch the sides of your nail with pinching pliers or with your fingers.
- Pinch the stencil to remove it.
- File with a coarse grit (80 or 100) to shape the nail, then with a finer grit file and finally finish with a buffing block.
- Clean your nail with alcohol and apply a top coat.
Now that you know how to make acrylic nails, take action with your manicure sets! If you don’t have nail tools, you can visit our nail supply store.
Read also: Mirror powder varnish and stamping


